How It Works
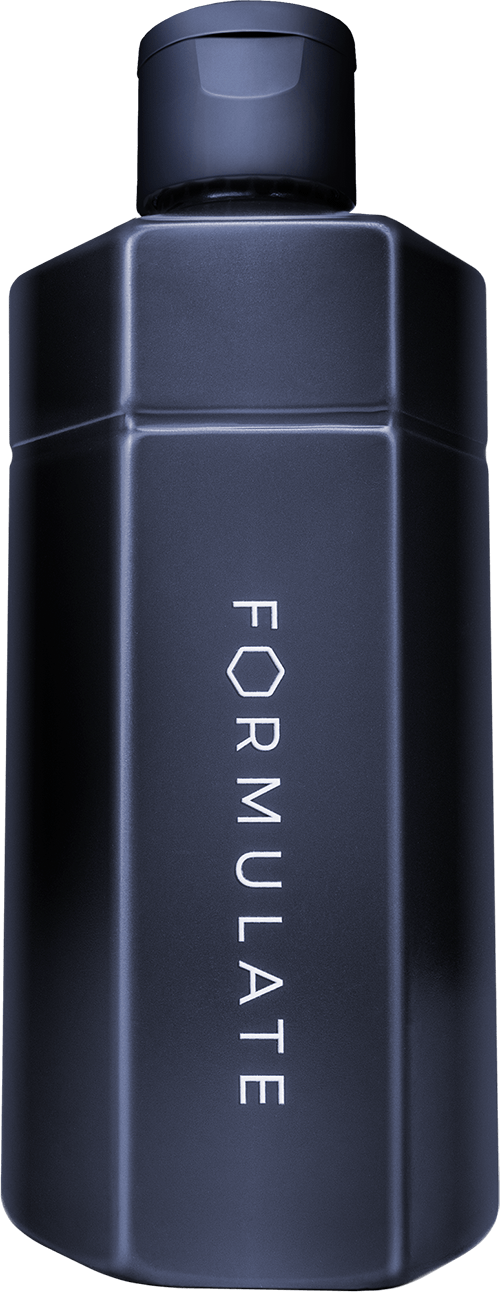
Answer questions about yourself
Help your chemist get to know you by answering a few initial questions.
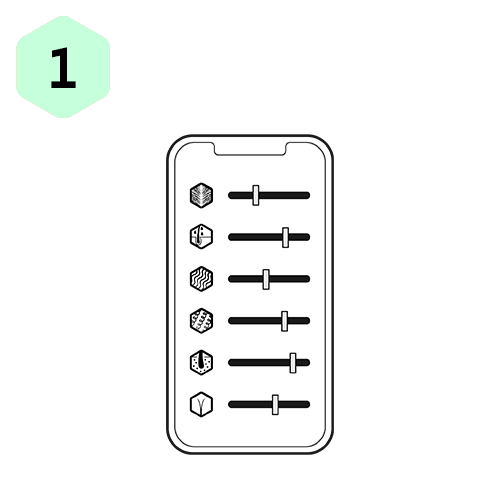
Get matched with a personal chemist
Your personal chemist will design your initial formulas.
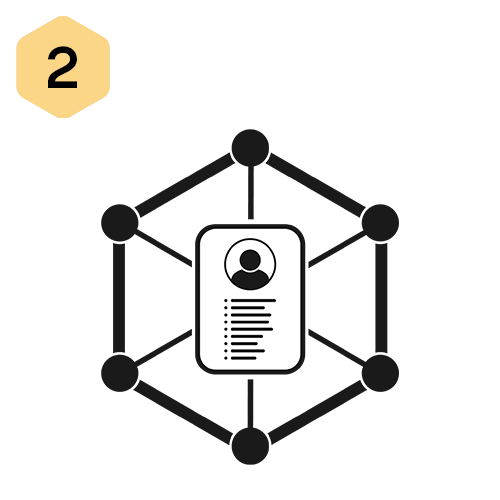
Your initial custom formulations arrive
Designed by your chemist, freshly dispensed in the USA.
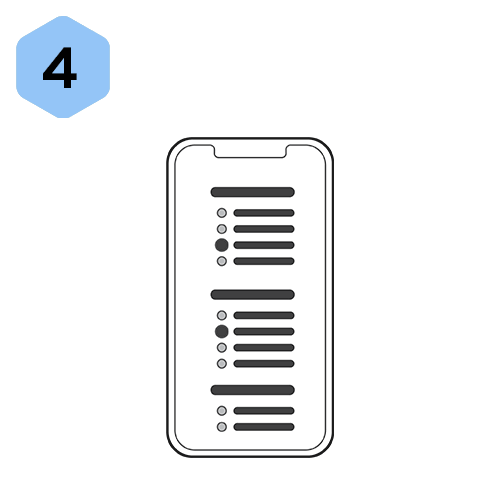
Check-in, make adjustments
Your chemist will check your progress and make formulation changes as needed.
0
people have achieved their hair & scalp goals with Formulate.
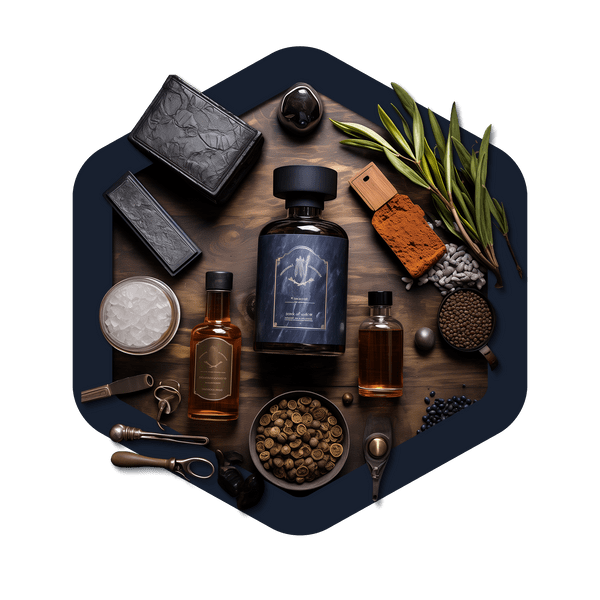
Our 11 Scents
Change your scent at any time while keeping the formula you love. New fragrance options added every quarter.

Green With Envy
green tea, honey

Tidal
ocean, sage, lily, musk

Freshly Squeezed
tangerine, sweet orange
 Natural Aromatic Extract

Cool Coconut
fresh coconut, sliced pineapples

Serenity
fresh lavender & chamomile
Natural Aromatic Extract

Berry Bloom
cherry blossom, raspberry, blackberry

Tea Tree
herbaceous, fresh, camphoraceous
Natural Aromatic Extract

Peach Mango
silky peach, ripened mango, kiwi

Peppermint
peppermint & spearmint leaf extract
Natural Aromatic Extract
Midnight Musk
musky, spicy, sophisticated

Grapefruit Pomegranate
All-natural fruit fusion
Natural Aromatic Extract
We've changed
everything.
everything.
This is the end of
your product search.
your product search.
Work directly with your personal chemist to dial-in your formulas over time to achieve healthier hair, scalp, & skin. Each custom formulation is designed based on your unique characteristics and adjusted based on your progress.
We source the most cutting-edge ingredients based on peer reviewed scientific studies. Thanks to our groundbreaking made-to-order manufacturing process, every bottle is cold-mixed without harsh preservatives and delivered to you fresher than any product you have ever used.
Real customization and the highest satisfaction rating among other "customized" brands.
Refillable Packaging
We are on a mission to reduce the 142 billion units of packaging waste each year in beauty & personal care.